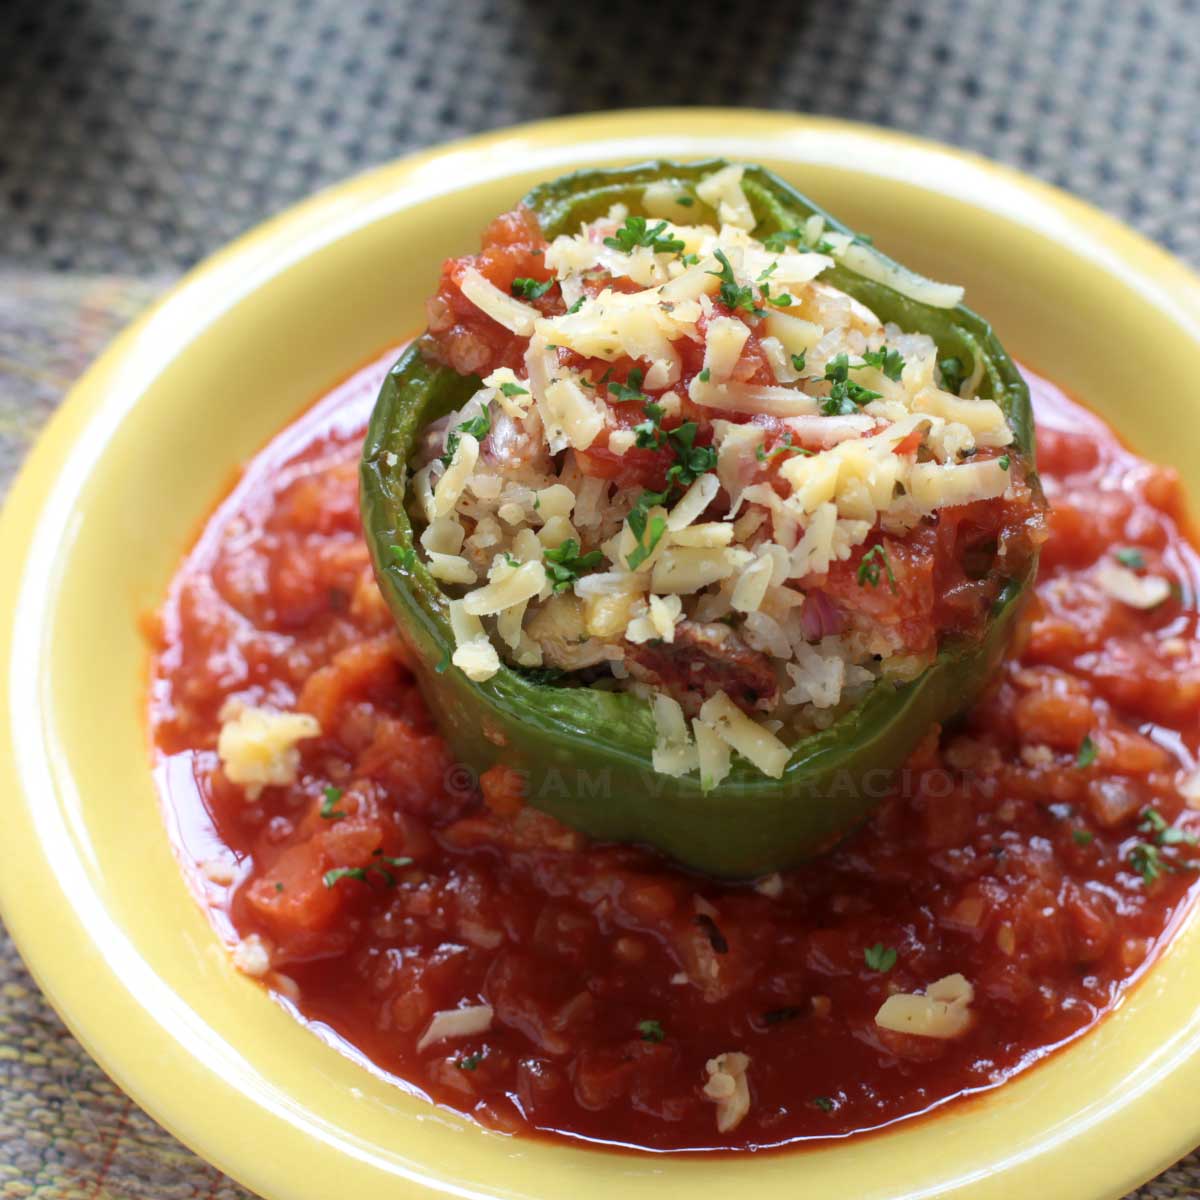
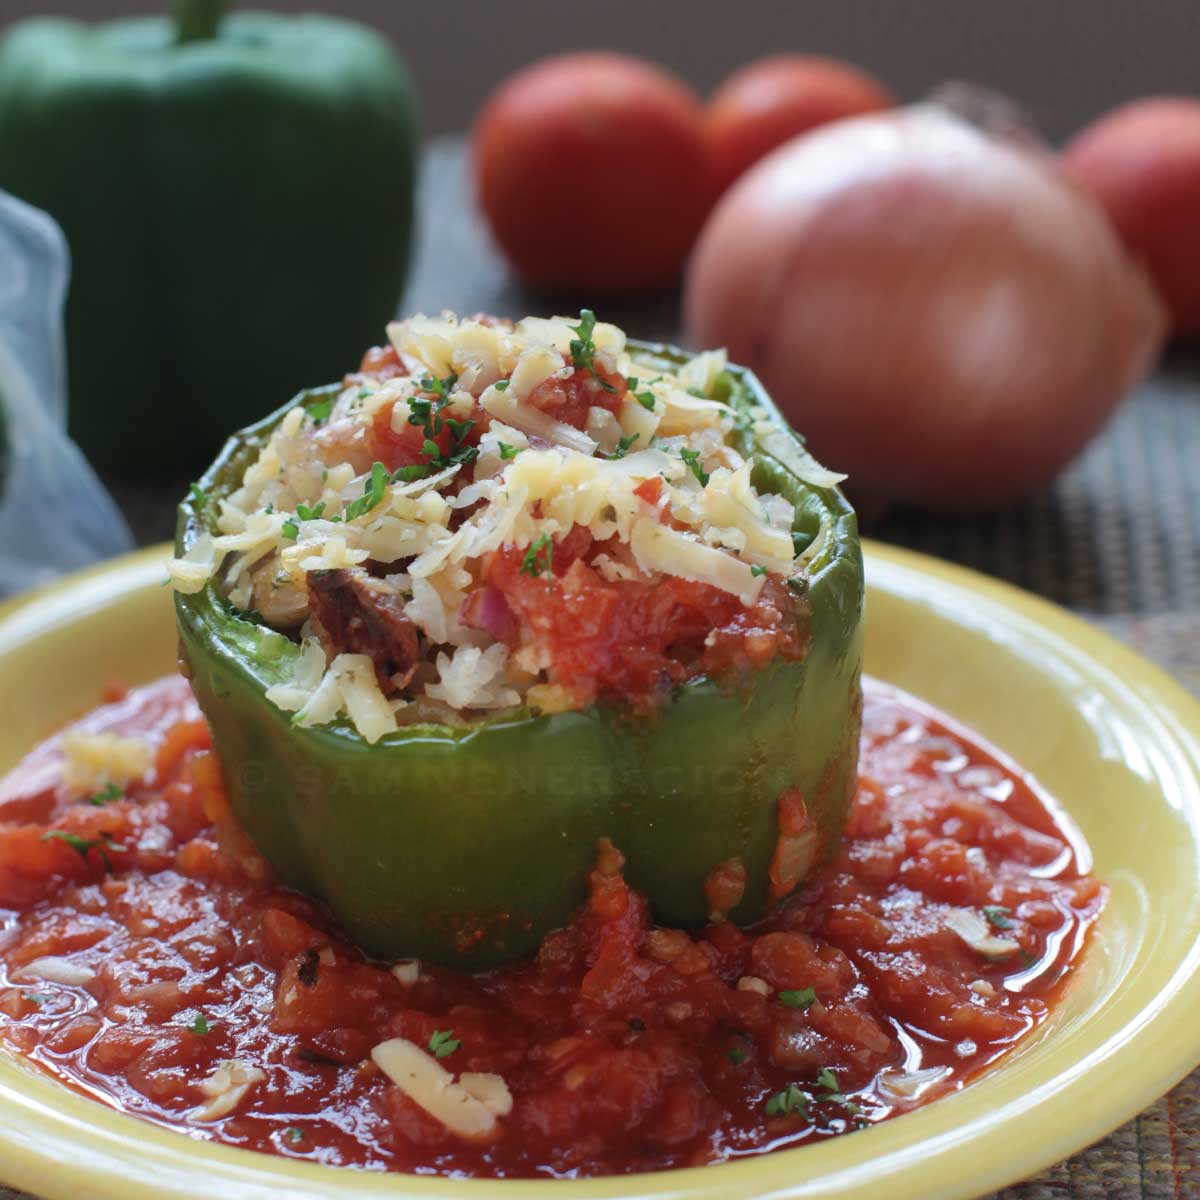
A vegetarian dish that I cooked back in 2014 so it could be photographed. I made this stuffed bell pepper to be the subject for a photography class of my daughter, Sam. Hence, the careful plating. Yes, I know my plating skills back then were horrible. Still trying to improve. But, anyway…
Because it was also meant to be Sam’s lunch, I made sure it was as delicious as it looked. It wasn’t easy, to be honest. She was a newly-turned vegetarian at the time, I knew next to nothing about cooking meatless meals, and cheese was my go-to ingredient to make her vegetarian food more exciting.
Well, that was a long time ago. While Sam still stays away from red meat, she has been eating poultry and seafood over the past few years. But during the time when she ate no meat, I learned a lot, and I now have a large archive of vegetable dishes to show for it. Mushrooms and tofu dishes too.
A few tips for making stuffed bell pepper: First, choose a large one that is more spherical than elongated. A wide cavity is easier to fill than a deep one. A large bell pepper has a thicker “wall” too that will not turn soggy during baking.
Second, after cutting off the top of the bell pepper, stand it upright on your cutting board. If it’s a bit wobbly, try trimming parts of the bottom so that it stays flat. This is important to make sure that the bell pepper doesn’t topple over from the weight of filling during assembly, during cooking and while plating.
Third, your choice of cheese will affect the texture of the rice stuffing as well as its flavor. If using hard mature cheese which is saltier that soft ones, you might need to reduce the amount of salt.
Stuffed bell pepper
Ingredients
- 1 large bell pepper
- extra virgin olive oil
- salt
- pepper
- ½ cup cold cooked rice
- 1 tablespoon chopped onion
- ¼ teaspoon minced garlic
- ½ teaspoon paprika
- 2 to 3 fresh button mushrooms chopped
- 2 tablespoons grated cheese plus more to garnish
- 1 teaspoon chopped parsley plus more to garnish
- chunky tomato sauce (we prefer homemade!)
Instructions
- Preheat the oven to 375F.
- Cut off the top of the bell pepper.
- Using a spoon, scoop out the seeds andwhite membranes inside the bell pepper.
- Brush inside and out with olive oil and sprinkle with a little salt and pepper.
- Mix together the rice, onion, garlic, paprika, mushrooms, cheese and parsley. Season with a quarter teaspoon salt and a pinch of pepper.
- Spoon the rice mixture into the cavity of the bell pepper.
- Arrange the bell pepper at the center of an oven-proof plate and drizzle with olive oil.
- Bake at 375F for about 15 minutes.
- Spoon the chunky tomato sauce around the bell pepper to form a shallow pool. Drizzle some on top.
- Sprinkle the stuffed bell pepper with more grated cheese and parsley. Serve.